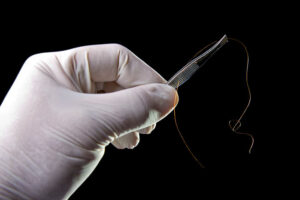
So, you want to have a nice, juicy, meaty, beefy crime scene in your work. It doesn’t matter if you are writing a mystery, or romance, or historical, there is a fine line between love and hate. Maybe the cheating husband is found stabbed and murdered. Or poisoned. Or it looks accidental. Or suicidal. So naturally, the police will respond, as will the crime scene investigators, who are forensic experts. Will they process the scene perfectly out of a forensic textbook? Or will they overlook key evidence? Maybe they won’t know something is evidence – and unknowingly eat it.
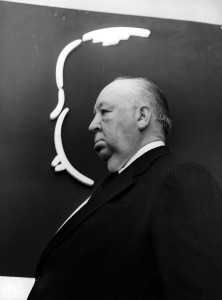
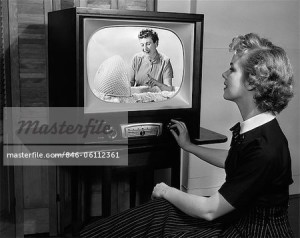
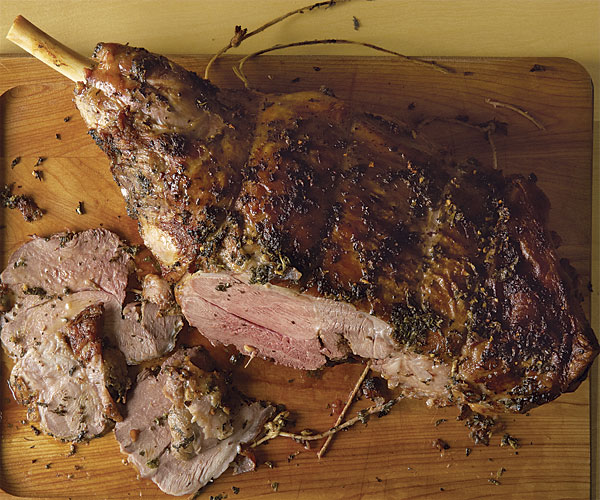
Yes, that actually happened in an old Alfred Hitchcock television episode. It seems a woman killed her chief of police husband with a cooked lamb leg to the head. After the dastardly deed, she put it in the refrigerator. When the detectives came to the home to interview her, she served them . . . yes . . . the leg of lamb. And they ate it! Talk about a plot twist. That’s the beauty of writing – you can make your characters as perfect or imperfect as need be. You’ve got the power. Yum, pass the mint jelly.
The scene “walk-through” provides an overview of the entire scene, identifies any threats to scene integrity, and ensures protection of physical evidence. Written and photographic documentation will later provide a permanent record. A “walk-through” should only be completed if there will be no disturbing of evidence.
The investigator(s) in charge shall conduct a walk-through of the scene. Not the Mayor of the town. Not the wife of the Chief of Police. Not any newspaper or television reporter. Not the Easter Bunny. The walk-through must be conducted by individuals responsible for processing the scene.
During the scene walk-through, the investigator(s) in charge should avoid contaminating the scene by using the established path of entry, and prepare preliminary documentation (e.g. notes) of the scene as observed.
When involved in the initial walk through, the investigator(s) note the condition of the scene. They should also record relevant observations, which may include things such as:
“¢ Ceilings (many times evidence is overlooked here)
“¢ Doors, including entry and exit points: Are they open, closed, locked or forced open? On which side was the key?
“¢ Windows: Are they open or closed? Is there broken glass? Were they locked or forced open?
“¢ Lights: On or off? If left on, which lights were on?
“¢ Shades or shutters: Open or closed?
“¢ Floors/Rugs moved/shifted
“¢ Interior lighting conditions
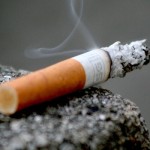
“¢ Odors: Cigarette smoke, gas, powder, perfume, etc.
“¢ Description of perpetrator (when present)
“¢ Description of crime-related people present
“¢ Description of emergency medical or search-and-rescue personnel present
“¢ Weapons observed
“¢ Furniture present, including location relative to victim, as applicable and overall scene
“¢ Signs of activity: Meal preparation, dishes in the sink, condition of housekeeping (clean, dirty or items in disarray), appliances left on, lit cigarette in the ashtray, television/stereo left on (note the channel), oven warm, bathtub wet, etc.
“¢ Date and time indicators: Mail, newspapers, dates on milk cartons, stopped clocks, spoiled foods, items that should have been hot or cold, but are at room temperature
“¢ The temperature of the room and environmental conditions. Is the heat set up high and it is August in Miami? Is the AC on and it is January in Minnesota?
Looking at these areas, the crime scene investigator(s) develop a general theory of the crime. The order in which things happened. What type of crime may have occurred.
Conducting a scene walk-through provides the investigator(s) in charge with an overview of the entire scene. The walk-through provides the first opportunity to identify valuable and/or fragile evidence and determine initial investigative procedures, providing for a systematic examination and documentation of the scene.
Next up . . . the proper steps in processing the crime scene . . . video, photography, sketching and evidence collection.
Don’t touch that dial!
Stay tuned.